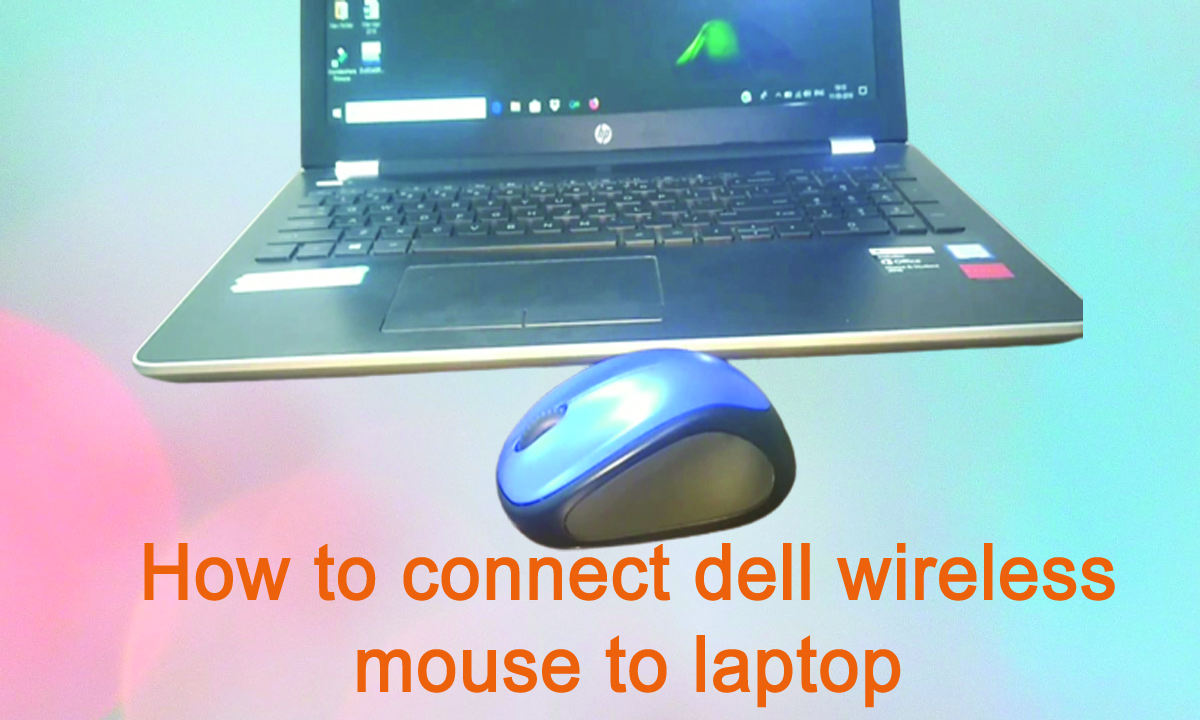
How to connect dell wireless mouse to laptop,To connect a Dell wireless mouse to your laptop, please follow these general steps:
How to connect dell wireless mouse to laptop:
- Check the batteries: Ensure that the wireless mouse has working batteries. Replace them if needed.
- Enable Bluetooth: Make sure the Bluetooth feature on your laptop is turned on. You can usually do this by pressing the Bluetooth button on your keyboard or through the laptop’s settings menu. If your wireless mouse uses a USB receiver, skip this step.
- Put the mouse in pairing mode: Some wireless mice have a dedicated pairing button or switch. Press and hold this button or switch for a few seconds to activate pairing mode. Refer to the mouse’s user manual for specific instructions on how to put it into pairing mode.
- Enable pairing mode on your laptop: Go to your laptop’s Bluetooth settings. On Windows, you can typically access this by clicking the Bluetooth icon in the system tray or by going to the Control Panel and selecting “Bluetooth and Other Devices.” On macOS, click the Apple menu, select “System Preferences,” and then choose “Bluetooth.”
- Pair the mouse with your laptop: In the Bluetooth settings, click on the option to add a new device or to search for devices. Your laptop should start scanning for available devices. When you see your wireless mouse listed, select it and click the “Pair” or “Connect” button. Follow any on-screen instructions that may appear.
- Complete the pairing process: Once the pairing process is successful, your wireless mouse should be connected to your laptop. Test it by moving the mouse cursor to ensure it’s working correctly.
If your Dell wireless mouse uses a USB receiver, follow these additional steps:
- Plug in the USB receiver: Insert the USB receiver into an available USB port on your laptop. Ensure that the receiver is securely connected.
- Wait for the driver installation: Your laptop may automatically install the necessary drivers for the USB receiver. Wait for a moment while the installation completes. You may see a notification once the process is finished.
- Test the mouse: After the driver installation, your wireless mouse should start working immediately. Move the mouse around to verify that it’s functioning correctly.
By following these steps, you should be able to connect your Dell wireless mouse to your laptop successfully. However, please note that the specific steps may vary slightly depending on the model of your wireless mouse and the operating system of your laptop.
How do I pair my Dell mouse to my laptop?
To pair your Dell mouse to your laptop, please follow these steps:
- Make sure your Dell wireless mouse is turned on and has working batteries.
- If your Dell mouse uses a USB receiver, insert the receiver into an available USB port on your laptop. Skip this step if your mouse connects via Bluetooth.
- If your Dell mouse has a power switch, turn it on. Some models may have a pairing button or switch that you need to activate for pairing mode. Consult your mouse’s user manual for specific instructions on how to put it into pairing mode.
- On your laptop, make sure Bluetooth is enabled. You can typically do this by clicking on the Bluetooth icon in the system tray (Windows) or the menu bar (macOS) and ensuring it’s turned on. If your mouse uses a USB receiver, this step is not required.
- If you’re using Bluetooth, open the Bluetooth settings on your laptop. On Windows, you can usually access this by clicking the Bluetooth icon in the system tray or going to the Control Panel and selecting “Bluetooth and Other Devices.” On macOS, click the Apple menu, select “System Preferences,” and then choose “Bluetooth.”
- On the Bluetooth settings screen, click on the option to add a new device or search for devices. Your laptop will start scanning for available devices.
- If your Dell mouse is in pairing mode, it should appear in the list of available devices on your laptop. Select the mouse from the list.
- Follow any on-screen instructions that may appear to complete the pairing process. This may involve confirming a passkey or PIN code on both your laptop and the mouse.
- Once the pairing is successful, your Dell mouse should be connected to your laptop. Test it by moving the mouse cursor to ensure it’s working correctly.
Note: The steps above are general guidelines, and the exact process may vary depending on the model of your Dell mouse and the operating system of your laptop. For detailed instructions, it’s best to refer to the user manual that came with your specific Dell mouse.
How do I connect my Dell wireless mouse to my Dell laptop?
To connect your Dell wireless mouse to your Dell laptop, follow these steps:
- Make sure your Dell laptop has Bluetooth capabilities. Most Dell laptops come with built-in Bluetooth functionality. You can check if your laptop has Bluetooth by looking for the Bluetooth icon on the function keys (F1, F2, etc.). The Bluetooth icon typically looks like a stylized “B” or has the Bluetooth logo.
- Turn on your Dell wireless mouse. If your mouse has a power switch, toggle it to the “On” position. Ensure that the mouse has working batteries.
- Enable Bluetooth on your Dell laptop. Press the “Windows” key on your keyboard to open the Start menu, then type “Bluetooth” and select “Bluetooth and other devices settings” from the search results. In the Bluetooth settings window, toggle the Bluetooth switch to the “On” position.
- Put your Dell wireless mouse into pairing mode. Check the user manual that came with your mouse to find the specific instructions for entering pairing mode. For many Dell wireless mice, you may need to press and hold the pairing button or switch on the mouse for a few seconds until the LED light on the mouse starts flashing to indicate pairing mode.
- On your Dell laptop, click the “Add Bluetooth or other device” button in the Bluetooth settings window. This will initiate a search for available devices.
- Wait for your Dell laptop to detect the wireless mouse. It should appear in the list of available devices under the “Mouse, keyboard, & pen” section. Click on the mouse to select it.
- Follow any on-screen prompts or instructions that may appear. Your laptop may ask you to confirm a passkey or PIN code to pair with the mouse. If prompted, enter the code using your laptop’s keyboard and follow the instructions to complete the pairing process.
- Once the pairing process is successful, your Dell wireless mouse should be connected to your Dell laptop. Test the mouse by moving it to verify that it’s working correctly.
If your Dell wireless mouse uses a USB receiver instead of Bluetooth, you can connect it to your Dell laptop by inserting the USB receiver into an available USB port. The laptop should automatically recognize the mouse and install the necessary drivers.
Note: The steps provided are general guidelines, and the exact process may vary depending on the model of your Dell laptop and wireless mouse. For detailed instructions, it’s recommended to refer to the user manual that came with your specific Dell laptop and mouse.
Is Dell wireless mouse Bluetooth?
Dell offers a variety of wireless mice, and not all of them use Bluetooth technology. Dell wireless mice can use different types of wireless connections, including Bluetooth and USB receivers.
To determine if your specific Dell wireless mouse uses Bluetooth, you can check the product documentation or the mouse itself for indications. Look for Bluetooth logos or any mention of Bluetooth connectivity in the user manual, packaging, or on the mouse itself.
If your Dell wireless mouse does not mention Bluetooth connectivity, it is likely that it uses a USB receiver instead. In this case, the mouse will require you to connect the USB receiver to your laptop’s USB port for it to function.
To ensure the most accurate information regarding your particular Dell wireless mouse model, it is recommended to refer to the user manual or contact Dell support directly for clarification.
Can we use Dell wireless mouse without receiver?
No, Dell wireless mice generally require a receiver to establish a connection with your computer. The receiver serves as a wireless communication link between the mouse and your laptop. It receives the signals from the mouse and transmits them to the computer.
Without a receiver, the wireless mouse cannot connect directly to your laptop or establish a functional connection. The receiver is necessary to facilitate the communication between the mouse and the computer.
It’s worth noting that some Dell wireless mice use Bluetooth technology instead of a dedicated receiver. In such cases, the mouse can connect directly to a Bluetooth-enabled laptop without the need for a separate receiver. However, this depends on the specific model of the Dell wireless mouse.
How do you install an optical mouse?
To install an optical mouse, please follow these steps:
- Check the compatibility: Ensure that your optical mouse is compatible with your computer’s operating system. Most optical mice are compatible with Windows, macOS, and Linux.
- Prepare the mouse: Remove the mouse from its packaging and remove any protective covers or packaging materials. Make sure the mouse has batteries installed if it is wireless, or ensure it is plugged into a USB port if it is a wired mouse.
- Wired mouse: If you have a wired optical mouse, simply plug the USB connector into an available USB port on your computer. The operating system should automatically recognize the mouse, and it should start working without any additional steps.
- Wireless mouse: If you have a wireless optical mouse, it will typically come with a USB receiver. Plug the USB receiver into an available USB port on your computer. Once plugged in, the operating system should automatically detect and install the necessary drivers for the mouse. Wait for a moment while the installation completes.
- Test the mouse: Once the optical mouse is connected, move it around on a suitable surface to test its functionality. The cursor on your screen should respond to the movement of the mouse.
- Adjust settings (optional): Depending on your preferences, you may want to adjust some settings for the optical mouse. For example, you can adjust the pointer speed, button assignments, and scroll wheel behavior through the mouse settings in your computer’s operating system. These settings can usually be accessed through the Control Panel on Windows or System Preferences on macOS.
By following these steps, you should be able to install and start using your optical mouse with your computer. If you encounter any issues, refer to the mouse’s user manual or visit the manufacturer’s support website for troubleshooting assistance.
More story in Hindi to read:
Moral stories in Hindi for class