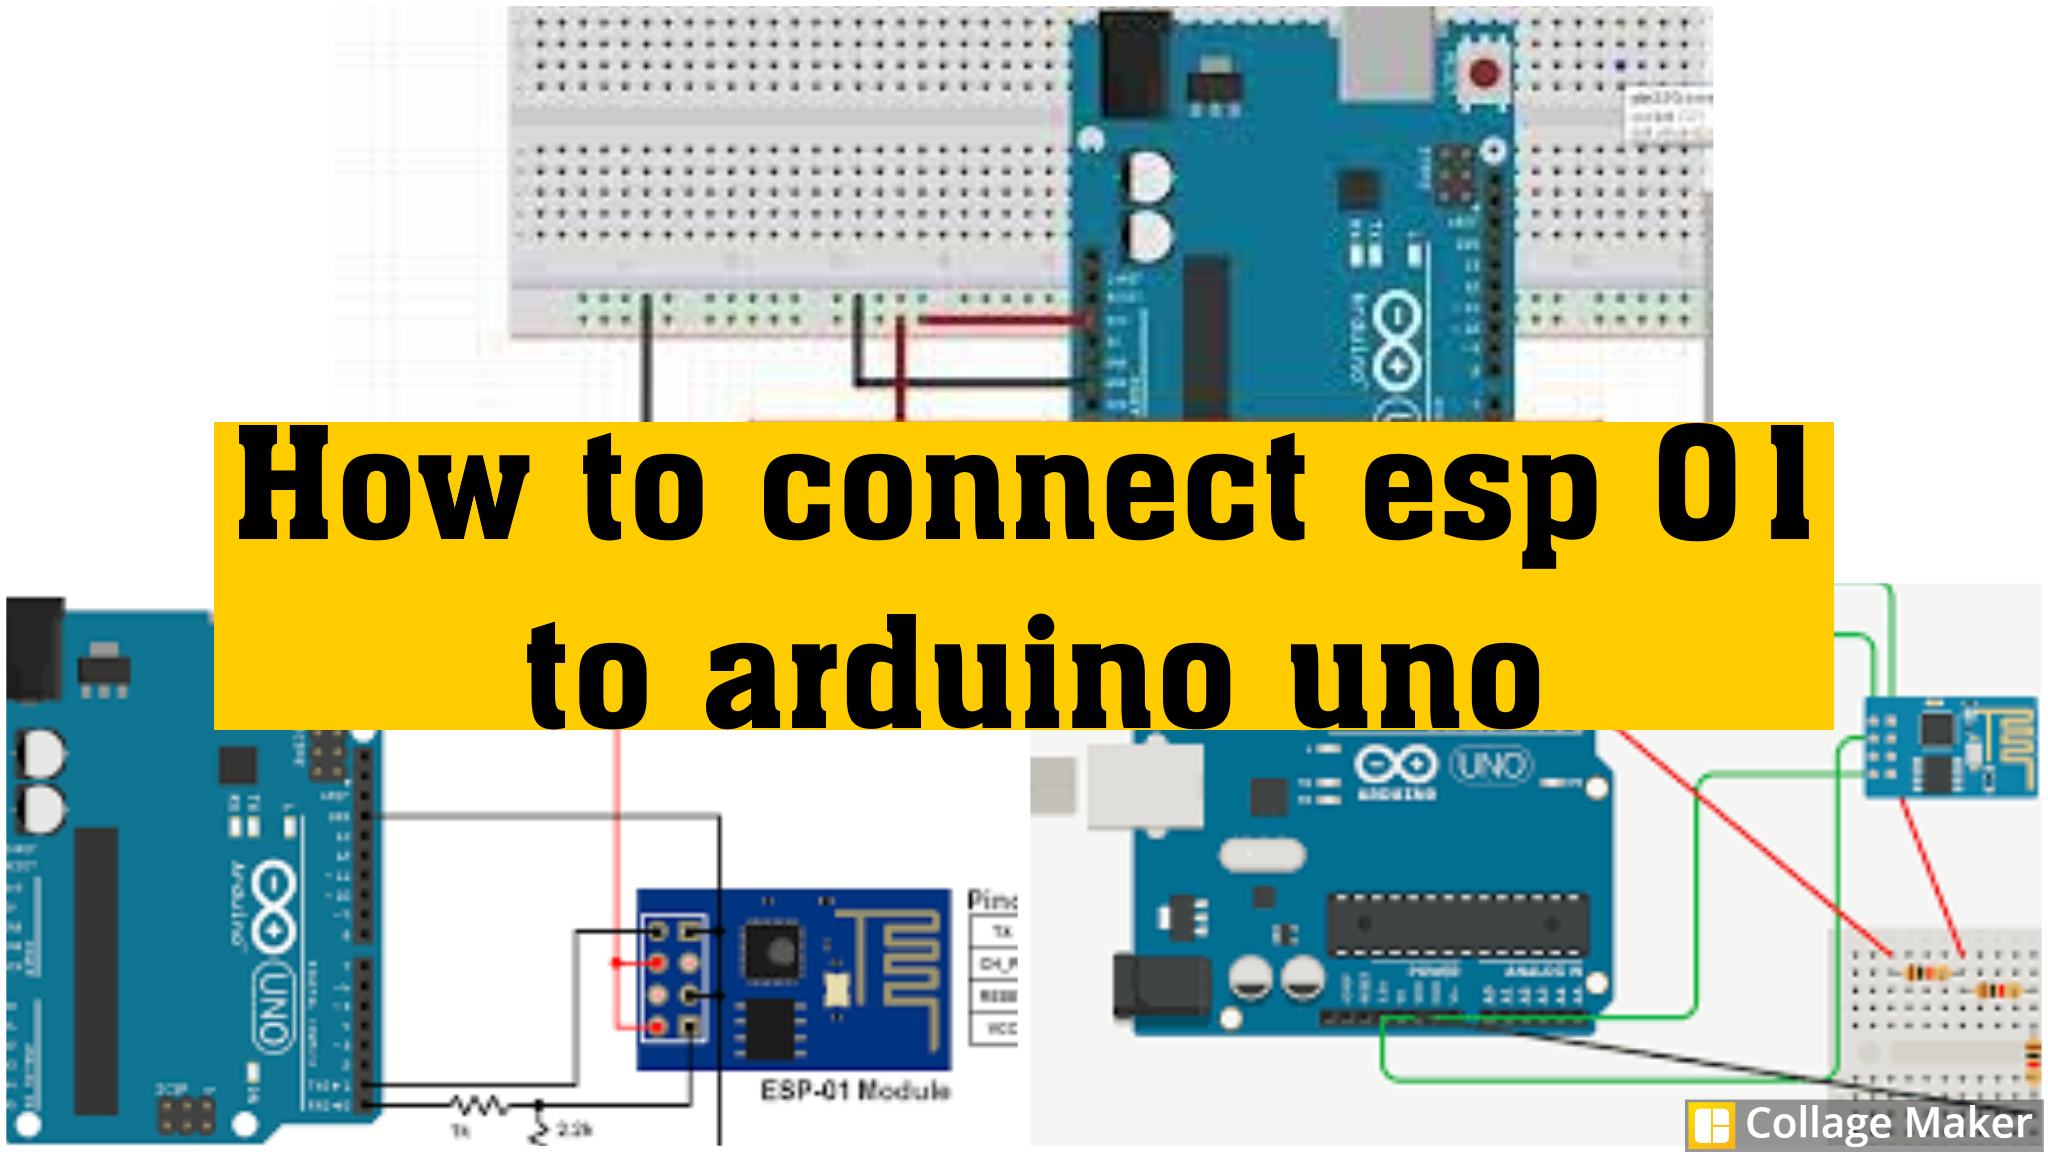
How to connect esp 01 to arduino uno:
Connecting an ESP-01 module to an Arduino Uno involves a few steps. The ESP-01 is a popular low-cost WiFi module that can be programmed using the Arduino IDE. Here’s a step-by-step guide on how to connect the ESP-01 to an Arduino Uno:
Note: The ESP-01 operates at 3.3V, while the Arduino Uno operates at 5V. To avoid damaging the ESP-01, you need to use level shifters or voltage dividers for communication between the ESP-01 and Arduino Uno. You can also use a separate 3.3V power supply for the ESP-01.
Required Components:
- Arduino Uno
- ESP-01 module
- Level shifter (or voltage divider) – for converting 5V to 3.3V (for RX pin on ESP-01)
- 3.3V power supply for ESP-01 (if not using the Arduino Uno’s 3.3V output)
- Jumper wires
Connections:
- Power Supply for ESP-01:
- Connect VCC on ESP-01 to 3.3V.
- Connect GND on ESP-01 to GND.
- Connect CH_PD on ESP-01 to 3.3V.
- Communication between Arduino Uno and ESP-01:
- Connect TX on Arduino Uno to RX on the level shifter.
- Connect RX on Arduino Uno to TX on the level shifter.
- Connect the output of the level shifter to the RX pin on ESP-01.
- GPIO0 and GPIO2:
- It is recommended to connect GPIO0 to GND to enable programming mode.
- You can leave GPIO2 unconnected or connect it to 3.3V.
- Reset:
- Connect the RST pin on ESP-01 to the RESET pin on Arduino Uno.
Here’s a simplified connection diagram:
Arduino Uno   ESP-01
 5V -------- VCC
 GND -------- GND
 TX -------- RX (via level shifter)
 RX -------- TX (via level shifter)
 GND -------- GPIO0
 RESET-------- RST
Programming:
- Install ESP8266 Board in Arduino IDE:
- Open the Arduino IDE.
- Go to File -> Preferences and add
http://arduino.esp8266.com/stable/package_esp8266com_index.jsonto the Additional Boards Manager URLs. - Go to Tools -> Board -> Boards Manager, search for “ESP8266,” and install the “esp8266” platform.
- Select Board and Port:
- Go to Tools -> Board and select “Generic ESP8266 Module.”
- Select the appropriate COM port under Tools -> Port.
- Upload Code:
- Write your code in the Arduino IDE.
- Make sure the code specifies the correct board and port.
- Press the upload button to upload the code to the ESP-01.
Remember to disconnect the RX and TX lines between the Arduino Uno and ESP-01 when uploading code to avoid conflicts.
After uploading the code, you can reconnect the RX and TX lines for communication between the Arduino Uno and ESP-01.
How to setup ESP-01 to Arduino Uno?
Setting up the ESP-01 to work with an Arduino Uno involves both hardware connections and software configuration. Below are step-by-step instructions to help you set up the ESP-01 with an Arduino Uno:
Hardware Connections:
- Power Supply for ESP-01:
- Connect VCC on ESP-01 to 3.3V on Arduino Uno.
- Connect GND on ESP-01 to GND on Arduino Uno.
- Connect CH_PD on ESP-01 to 3.3V on Arduino Uno.
- Communication between Arduino Uno and ESP-01:
- Connect TX on Arduino Uno to RX on the ESP-01.
- Connect RX on Arduino Uno to TX on the ESP-01.
- Use a voltage level shifter or voltage divider to ensure the ESP-01 operates at 3.3V.
- GPIO0 and GPIO2:
- Connect GPIO0 on ESP-01 to GND on Arduino Uno to enable programming mode.
- Leave GPIO2 unconnected or connect it to 3.3V.
- Reset:
- Connect the RST pin on ESP-01 to the RESET pin on Arduino Uno.
Here’s a simplified connection diagram:
Arduino Uno   ESP-01
 5V -------- VCC
 GND -------- GND
 TX -------- RX (via level shifter)
 RX -------- TX (via level shifter)
 GND -------- GPIO0
 RESET-------- RST
Software Configuration:
- Install ESP8266 Board in Arduino IDE:
- Open the Arduino IDE.
- Go to File -> Preferences and add
http://arduino.esp8266.com/stable/package_esp8266com_index.jsonto the Additional Boards Manager URLs. - Go to Tools -> Board -> Boards Manager, search for “ESP8266,” and install the “esp8266” platform.
- Select Board and Port:
- Go to Tools -> Board and select “Generic ESP8266 Module.”
- Select the appropriate COM port under Tools -> Port.
- Upload Code:
- Write your code in the Arduino IDE, ensuring it’s compatible with the ESP8266 platform.
- Make sure the code specifies the correct board and port.
- Press the upload button to upload the code to the ESP-01.
- Set Baud Rate:
- After uploading, open the Serial Monitor in the Arduino IDE.
- Set the baud rate to 115200 (or the baud rate specified in your code) to see the ESP-01 output.
Programming Mode (Optional):
- To enter programming mode, ground the GPIO0 pin while powering up or resetting the ESP-01.
- After uploading the code, disconnect the GPIO0 from GND and reset the ESP-01.
Remember to disconnect the TX and RX lines between the Arduino Uno and ESP-01 while uploading code to avoid conflicts. The TX/RX pins are typically labeled on the ESP-01 module. Also, be cautious about the voltage levels to avoid damaging the ESP-01, especially since it operates at 3.3V. Using a voltage level shifter or voltage divider for communication is recommended.
How to program ESP8266 ESP-01 with Arduino Uno and FTDI232?
Programming the ESP8266 ESP-01 with an Arduino Uno and an FTDI232 (USB-to-Serial) adapter involves a few steps. The FTDI232 adapter will be used to communicate between your computer and the ESP-01 for programming. Here’s a step-by-step guide:
Components Needed:
- Arduino Uno
- ESP8266 ESP-01 module
- FTDI232 (USB-to-Serial) adapter
- Jumper wires
Hardware Connections:
- Power Supply for ESP-01:
- Connect VCC on ESP-01 to 3.3V on the FTDI232.
- Connect GND on ESP-01 to GND on the FTDI232.
- Connect CH_PD on ESP-01 to 3.3V on the FTDI232.
- Communication between FTDI232 and ESP-01:
- Connect TX on FTDI232 to RX on ESP-01.
- Connect RX on FTDI232 to TX on ESP-01.
- Connect the GPIO0 on ESP-01 to GND.
- Connect the Reset Line:
- Connect the RST pin on ESP-01 to the 3.3V on the FTDI232.
- Power Supply for Arduino Uno:
- Connect the 5V and GND on the FTDI232 to the 5V and GND on Arduino Uno.
Here’s a simplified connection diagram:
FTDI232      ESP-01 Arduino Uno
 TX -------- RX
 RX -------- TX
 GND -------- GND          GND
 5V -------- VCC          5V
 5V -------- RST
Programming Steps:
- Install ESP8266 Board in Arduino IDE:
- Open the Arduino IDE.
- Go to File -> Preferences and add
http://arduino.esp8266.com/stable/package_esp8266com_index.jsonto the Additional Boards Manager URLs. - Go to Tools -> Board -> Boards Manager, search for “ESP8266,” and install the “esp8266” platform.
- Select Board and Port:
- Go to Tools -> Board and select “Generic ESP8266 Module.”
- Select the FTDI232 COM port under Tools -> Port.
- Set Baud Rate:
- Set the baud rate to 115200 in the Arduino IDE.
- Program the ESP-01:
- Ensure that GPIO0 is connected to GND.
- Power up the ESP-01.
- Upload your Arduino sketch to the ESP-01 using the “Upload” button in the Arduino IDE.
- Once the upload is complete, disconnect GPIO0 from GND.
- Verify Output:
- Open the Serial Monitor in the Arduino IDE to view the output from the ESP-01. Set the baud rate to 115200.
After completing these steps, your ESP8266 ESP-01 should be programmed with the Arduino Uno and FTDI232. Remember to disconnect the FTDI232 and GPIO0 from GND when using the ESP-01 standalone or when connecting it to other devices.
How do I connect ESP32 to Arduino Uno?
Connecting an ESP32 to an Arduino Uno involves a straightforward process using serial communication. The ESP32 can communicate with the Arduino Uno through UART (Serial), and you can use the Arduino IDE to program the ESP32. Here’s a step-by-step guide:How to connect esp 01 to arduino uno
Components Needed:
- Arduino Uno
- ESP32 module
- Jumper wires
Hardware Connections:
- Power Supply for ESP32:
- Connect the 3.3V on ESP32 to the 3.3V on Arduino Uno.
- Connect GND on ESP32 to GND on Arduino Uno. How to connect esp 01 to arduino uno
- Communication between Arduino Uno and ESP32:
- Connect TX on Arduino Uno to RX0 (RX) on the ESP32.
- Connect RX on Arduino Uno to TX0 (TX) on the ESP32.
Here’s a simplified connection diagram:
Arduino Uno   ESP32
 3.3V -------- 3.3V
 GND -------- GND
 TX -------- RX0
 RX -------- TX0
Programming Steps:
- Install ESP32 Board in Arduino IDE:
- Open the Arduino IDE.
- Go to File -> Preferences and add
https://dl.espressif.com/dl/package_esp32_index.jsonto the Additional Boards Manager URLs. - Go to Tools -> Board -> Boards Manager, search for “esp32,” and install the “esp32” platform.
- Select Board and Port:
- Go to Tools -> Board and select the ESP32 board you are using (e.g., “ESP32 Dev Module”).
- Select the COM port under Tools -> Port.
- Upload Code:
- Write your code in the Arduino IDE.
- Make sure the code specifies the correct board and port.
- Press the upload button to upload the code to the ESP32.
- Power Configuration (if needed):
- If your ESP32 module requires an external power supply (not powered through the USB connection), connect its 3.3V and GND to a separate power supply.
Note:
- Ensure that both the Arduino Uno and ESP32 are using the same logic level (either 3.3V or 5V). In this case, the connections are made assuming both operate at 3.3V logic.
- If you’re using a 5V Arduino Uno and a 3.3V ESP32, consider using a level shifter or voltage divider for the TX line (Arduino Uno TX to ESP32 RX) to avoid potential issues due to voltage mismatch.
After uploading the code, the Arduino Uno can communicate with the ESP32 over serial, allowing you to control the ESP32 and use its features within your Arduino sketch. How to connect esp 01 to arduino uno
How does ESP32 communicate with Arduino?
The ESP32 and Arduino can communicate with each other through serial communication using the UART (Universal Asynchronous Receiver-Transmitter) protocol. The most common method is to use the Serial interface on both the ESP32 and Arduino. Here’s a step-by-step explanation of how this communication typically works: How to connect esp 01 to arduino uno
Hardware Connections:
- Power Supply:
- Connect the 3.3V power supply of the ESP32 to the 3.3V power source. Connect GND to GND.
- Serial Communication:
- Connect the TX pin of the ESP32 to the RX pin of the Arduino.
- Connect the RX pin of the ESP32 to the TX pin of the Arduino.How to connect esp 01 to arduino uno
- Ground Reference:
- Connect the GND of the ESP32 to the GND of the Arduino.
Software Configuration:
- Install ESP32 Board in Arduino IDE:
- Install the ESP32 board support in the Arduino IDE using the Board Manager.How to connect esp 01 to arduino uno
- Select Board and Port:
- In the Arduino IDE, select the ESP32 board model you are using (e.g., “ESP32 Dev Module”).
- Select the COM port connected to the ESP32 under Tools -> Port.How to connect esp 01 to arduino uno
- Write Code:
- Write your code in the Arduino IDE for both the ESP32 and Arduino.
- For serial communication, you’ll use the
Seriallibrary functions likeSerial.begin(),Serial.print(), andSerial.read().How to connect esp 01 to arduino uno
Example Code (ESP32):
void setup() {
 Serial.begin(115200); // Baud rate for serial communication
}Serial.println(“Hello from ESP32!”);
delay(1000);
}
Example Code (Arduino):
void setup() {
 Serial.begin(115200); // Baud rate for serial communication
}if (Serial.available() > 0) {
char incomingChar = Serial.read();
Serial.print(“Arduino received: “);
Serial.println(incomingChar);
}
}
Key Points:
- Baud Rate:
- Ensure that both the ESP32 and Arduino use the same baud rate for serial communication. In the examples above, it’s set to 115200 bps. How to connect esp 01 to arduino uno
- Voltage Levels:
- The ESP32 operates at 3.3V, and the Arduino Uno typically operates at 5V. Make sure to connect their grounds and use a level shifter or voltage divider when connecting the TX pin of the ESP32 to the RX pin of the Arduino to avoid voltage mismatch issues.How to connect esp 01 to arduino uno
- Data Direction:
- The TX pin of one device should be connected to the RX pin of the other and vice versa.
By establishing this serial communication link, you can send data back and forth between the ESP32 and Arduino, enabling them to collaborate and perform various tasks together. The Serial library functions in the Arduino IDE facilitate easy communication setup and management.How to connect esp 01 to arduino uno
More story in Hindi to read:
Moral stories in Hindi for class