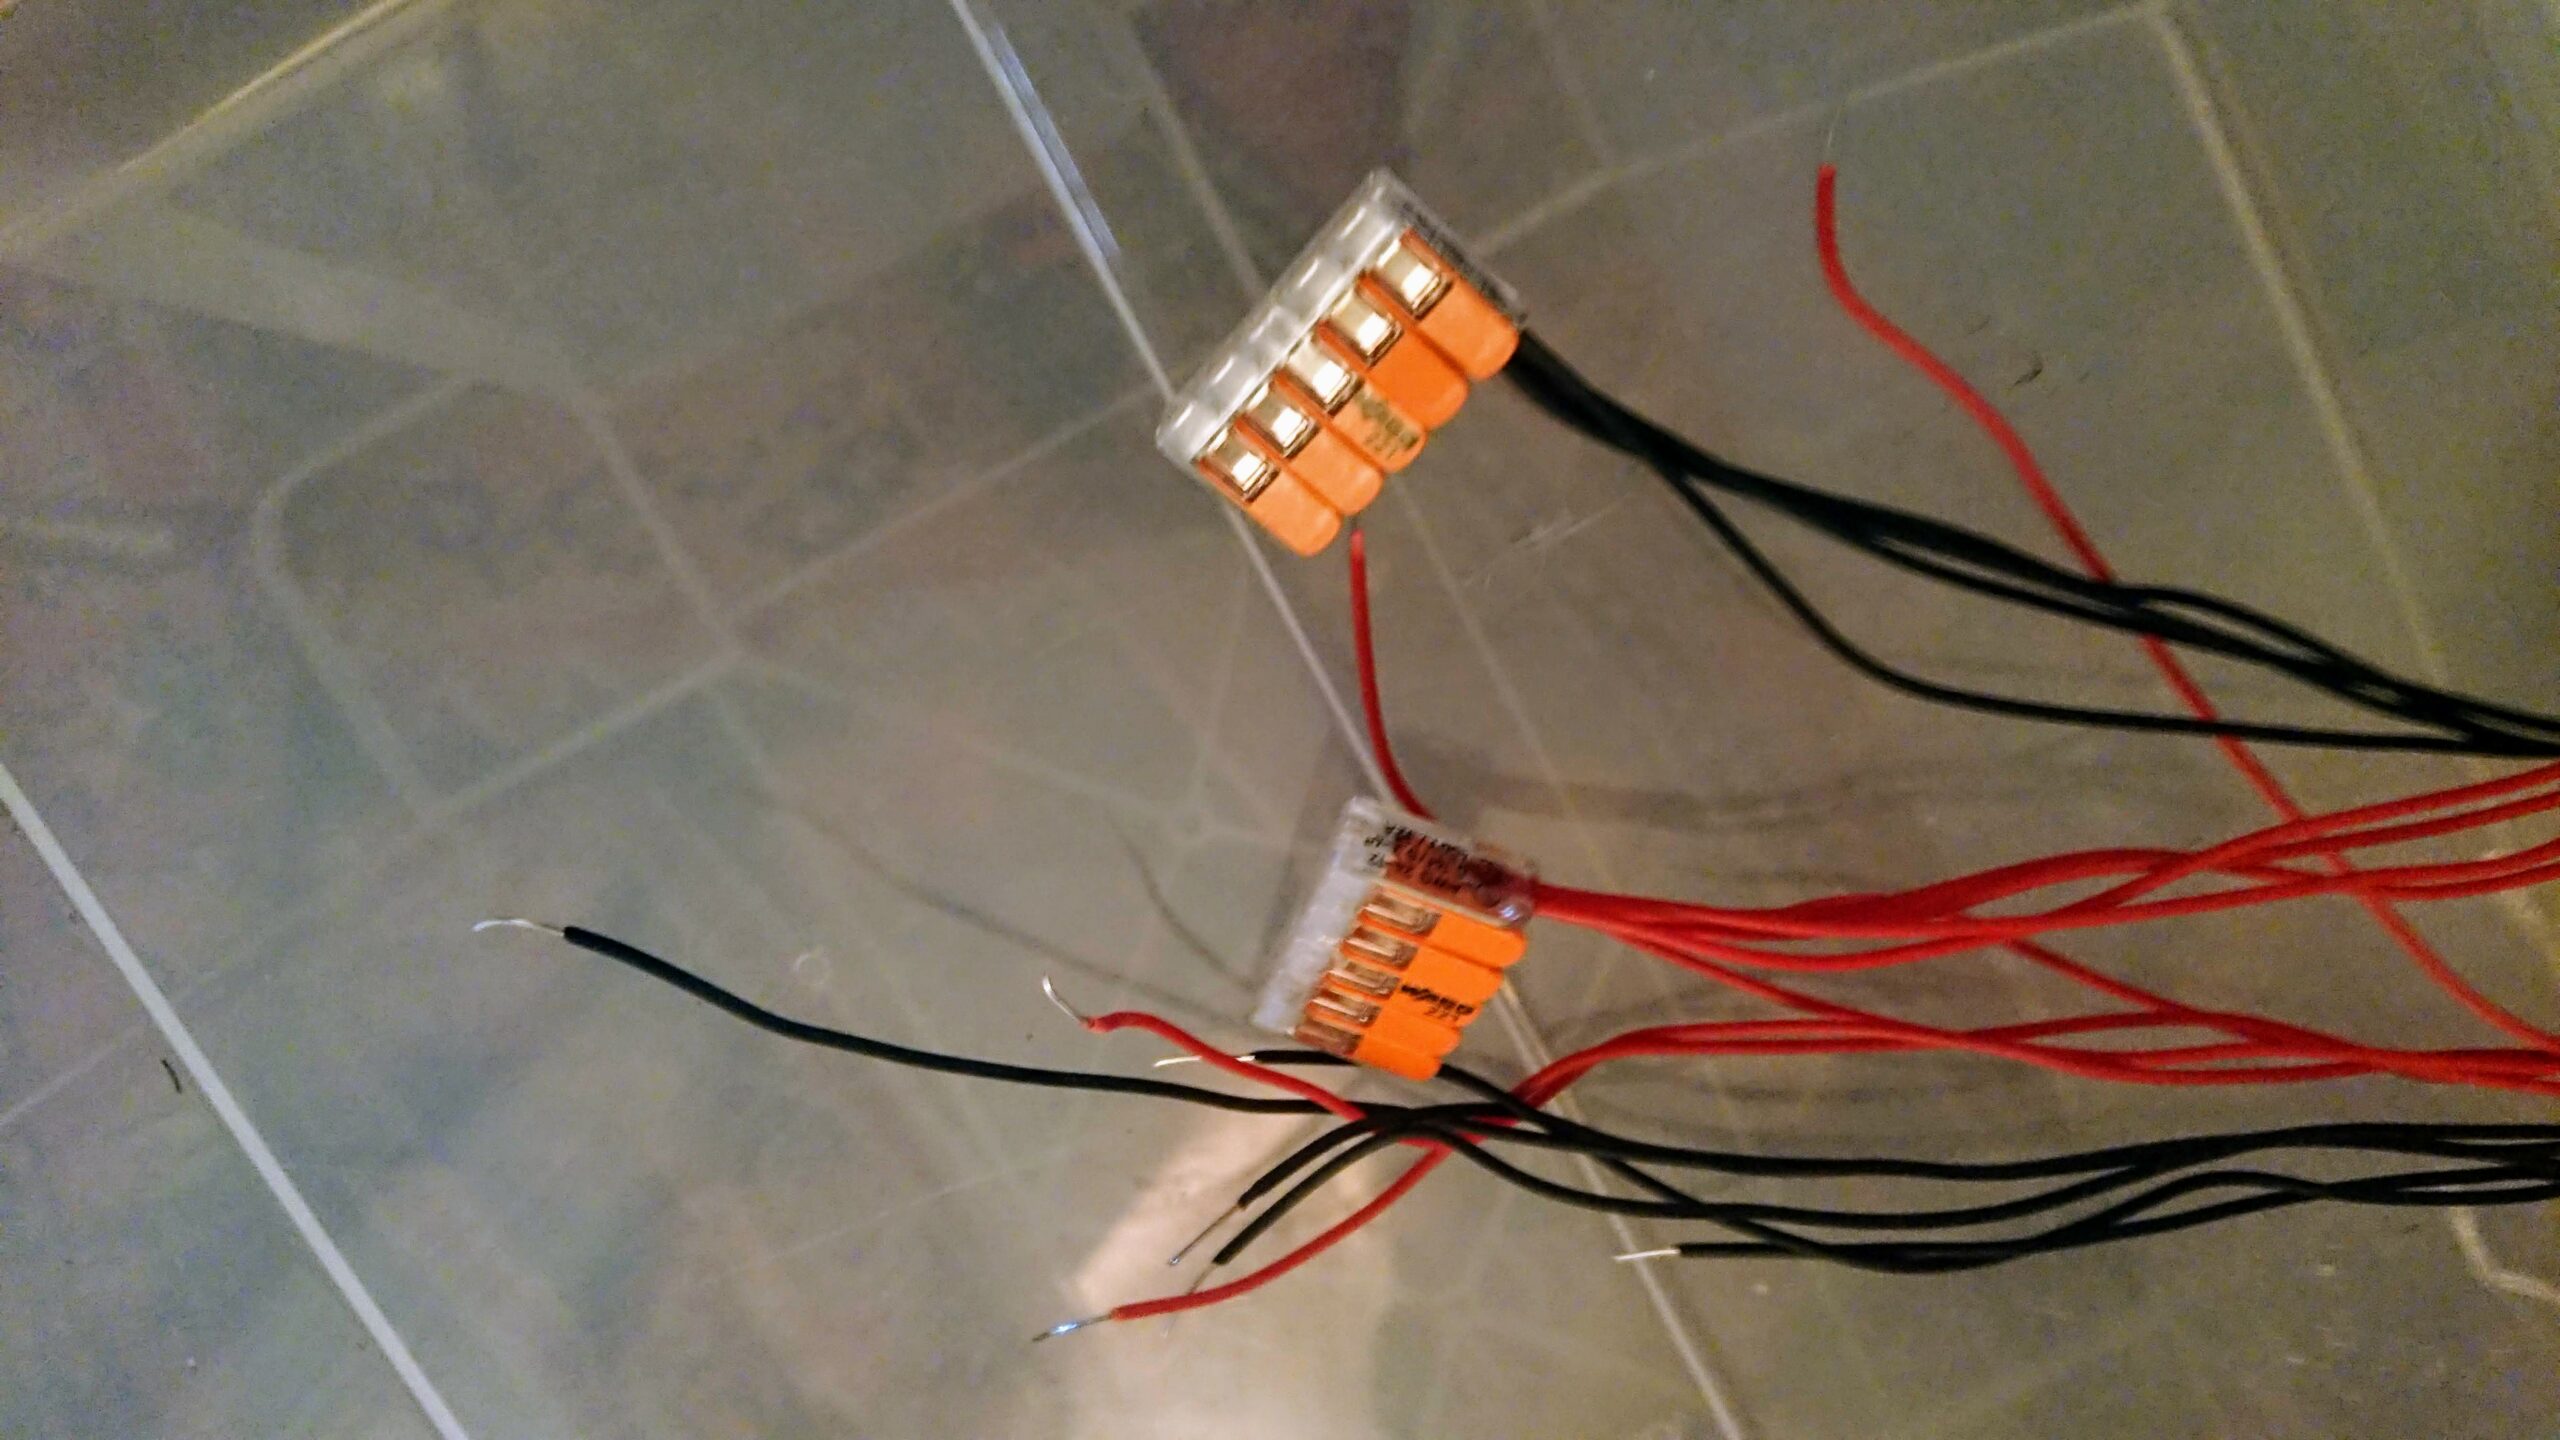
How to connect 6 wires together, Connecting six wires together can be done using various methods, depending on the context and requirements of your specific situation. Here’s a basic guide using wire nuts, which are commonly used for such connections:
How to connect 6 wires together:
Materials needed:
- Wire Nuts: Make sure they are appropriate for the wire gauge you’re working with.
- Wire Stripper: To strip the insulation from the ends of the wires.
Steps:
- Prepare the wires:
- Use a wire stripper to remove about 1/2 to 3/4 inch (1.27 to 1.9 cm) of insulation from the ends of each wire.
- Twist the exposed ends:
- Hold the exposed ends of each wire and twist them together. This helps to create a more secure connection.
- Select a wire nut:
- Choose a wire nut that is suitable for the number and gauge of wires you are connecting. Wire nuts are color-coded based on size and capacity.
- Insert wires into the wire nut:
- Insert the twisted wire ends into the wire nut. Make sure they are fully inserted and that all the wires are secured inside the nut.
- Twist the wire nut:
- Twist the wire nut clockwise to secure it onto the wires. This helps in creating a tight and reliable connection.
- Check the connection:
- After twisting the wire nut, gently tug on each wire to ensure they are securely held in place. If any wire comes loose, re-twist the wire nut.
- Secure with electrical tape (optional):
- To provide extra insulation and strain relief, you can wrap electrical tape around the base of the wire nut and onto the wires.
Remember to follow safety precautions, such as turning off power if you’re working with live electrical wires. If you’re not comfortable doing this yourself, consider seeking help from a professional electrician. Additionally, local electrical codes may dictate specific requirements for wire connections, so it’s a good idea to familiarize yourself with those regulations before proceeding.
How do you connect 6 ground wires together?
Connecting six ground wires together is a common task in electrical work, especially when you’re dealing with wiring systems. Ground wires are typically bare or covered with green insulation and are crucial for providing a path for electrical currents to safely dissipate into the ground. Here’s a step-by-step guide on how to connect six ground wires:
Materials needed:
- Wire Nuts: Choose a wire nut suitable for the number and gauge of ground wires.
- Wire Stripper: To strip the insulation from the ends of the ground wires.
Steps:
- Prepare the ground wires:
- Use a wire stripper to remove about 1/2 to 3/4 inch (1.27 to 1.9 cm) of insulation from the ends of each ground wire.
- Twist the exposed ends:
- Hold the exposed ends of each ground wire and twist them together. This helps to create a more secure connection.
- Select a wire nut:
- Choose a wire nut that is appropriate for the number and gauge of ground wires you are connecting. Wire nuts are often color-coded based on size and capacity.
- Insert ground wires into the wire nut:
- Insert the twisted ground wire ends into the wire nut. Make sure they are fully inserted and that all the ground wires are secured inside the nut.
- Twist the wire nut:
- Twist the wire nut clockwise to secure it onto the ground wires. This ensures a tight and reliable connection.
- Check the connection:
- After twisting the wire nut, gently tug on each ground wire to ensure they are securely held in place. If any wire comes loose, re-twist the wire nut.
- Secure with electrical tape (optional):
- Optionally, you can wrap electrical tape around the base of the wire nut and onto the ground wires for extra insulation and strain relief.
Always adhere to safety precautions, such as turning off power if you’re working with live electrical wires. If you’re unsure or uncomfortable with the process, it’s advisable to consult with a professional electrician. Additionally, local electrical codes may dictate specific requirements for grounding, so be sure to follow those guidelines.
How do you install a 6 wire light fixture?
Installing a 6-wire light fixture involves connecting the wires from the fixture to the corresponding wires in your electrical wiring. Here’s a step-by-step guide:
Materials needed:
- 6-wire light fixture
- Screwdriver
- Wire stripper
- Wire nuts
- Electrical tape (optional)
Steps:
- Turn off the power:
- Before starting any electrical work, turn off the power to the circuit at the breaker box. Use a voltage tester to ensure that the power is off.
- Identify the wires:
- The 6 wires from the light fixture usually include:
- Black (hot)
- White (neutral)
- Green or bare (ground)
- Red, blue, or another color (may be used for specific functions like a second hot wire or a switched wire)
- The 6 wires from the light fixture usually include:
- Identify the corresponding wires in your electrical box:
- Typically, you’ll find a black (hot), white (neutral), and green or bare (ground) wire in your electrical box. If there’s a red wire, it might be a switched wire.
- Match the wires:
- Connect the wires from the light fixture to the corresponding wires in the electrical box.
- Connect black to black (hot to hot).
- Connect white to white (neutral to neutral).
- Connect green or bare to the ground wire.
- If there’s a red wire in your electrical box, it may connect to a colored wire on the light fixture, depending on the intended function (e.g., for a switch).
- Connect the wires from the light fixture to the corresponding wires in the electrical box.
- Secure the connections:
- Use wire nuts to secure the connections. Twist the wires together and then twist on the wire nut until it is tight. If the fixture includes a ground screw, attach the ground wire to it.
- Tuck the wires into the electrical box:
- Carefully fold the connected wires and tuck them into the electrical box. Ensure that no wires are exposed or touching each other.
- Secure the light fixture:
- Mount the light fixture to the electrical box using the provided screws. Follow the manufacturer’s instructions for your specific fixture.
- Turn on the power:
- After everything is securely connected, turn the power back on at the breaker box. Test the light switch to make sure the fixture is working correctly.
- Optional: Tape and secure wires (if needed):
- Use electrical tape to secure the wire nuts and any loose wires. This provides extra insulation and prevents accidental disconnections.
Always follow local electrical codes and regulations, and if you’re uncertain or uncomfortable with the installation process, it’s advisable to consult with a licensed electrician. Electrical work should be approached with caution and respect for safety protocols.
More story in Hindi to read:
Moral stories in Hindi for class


