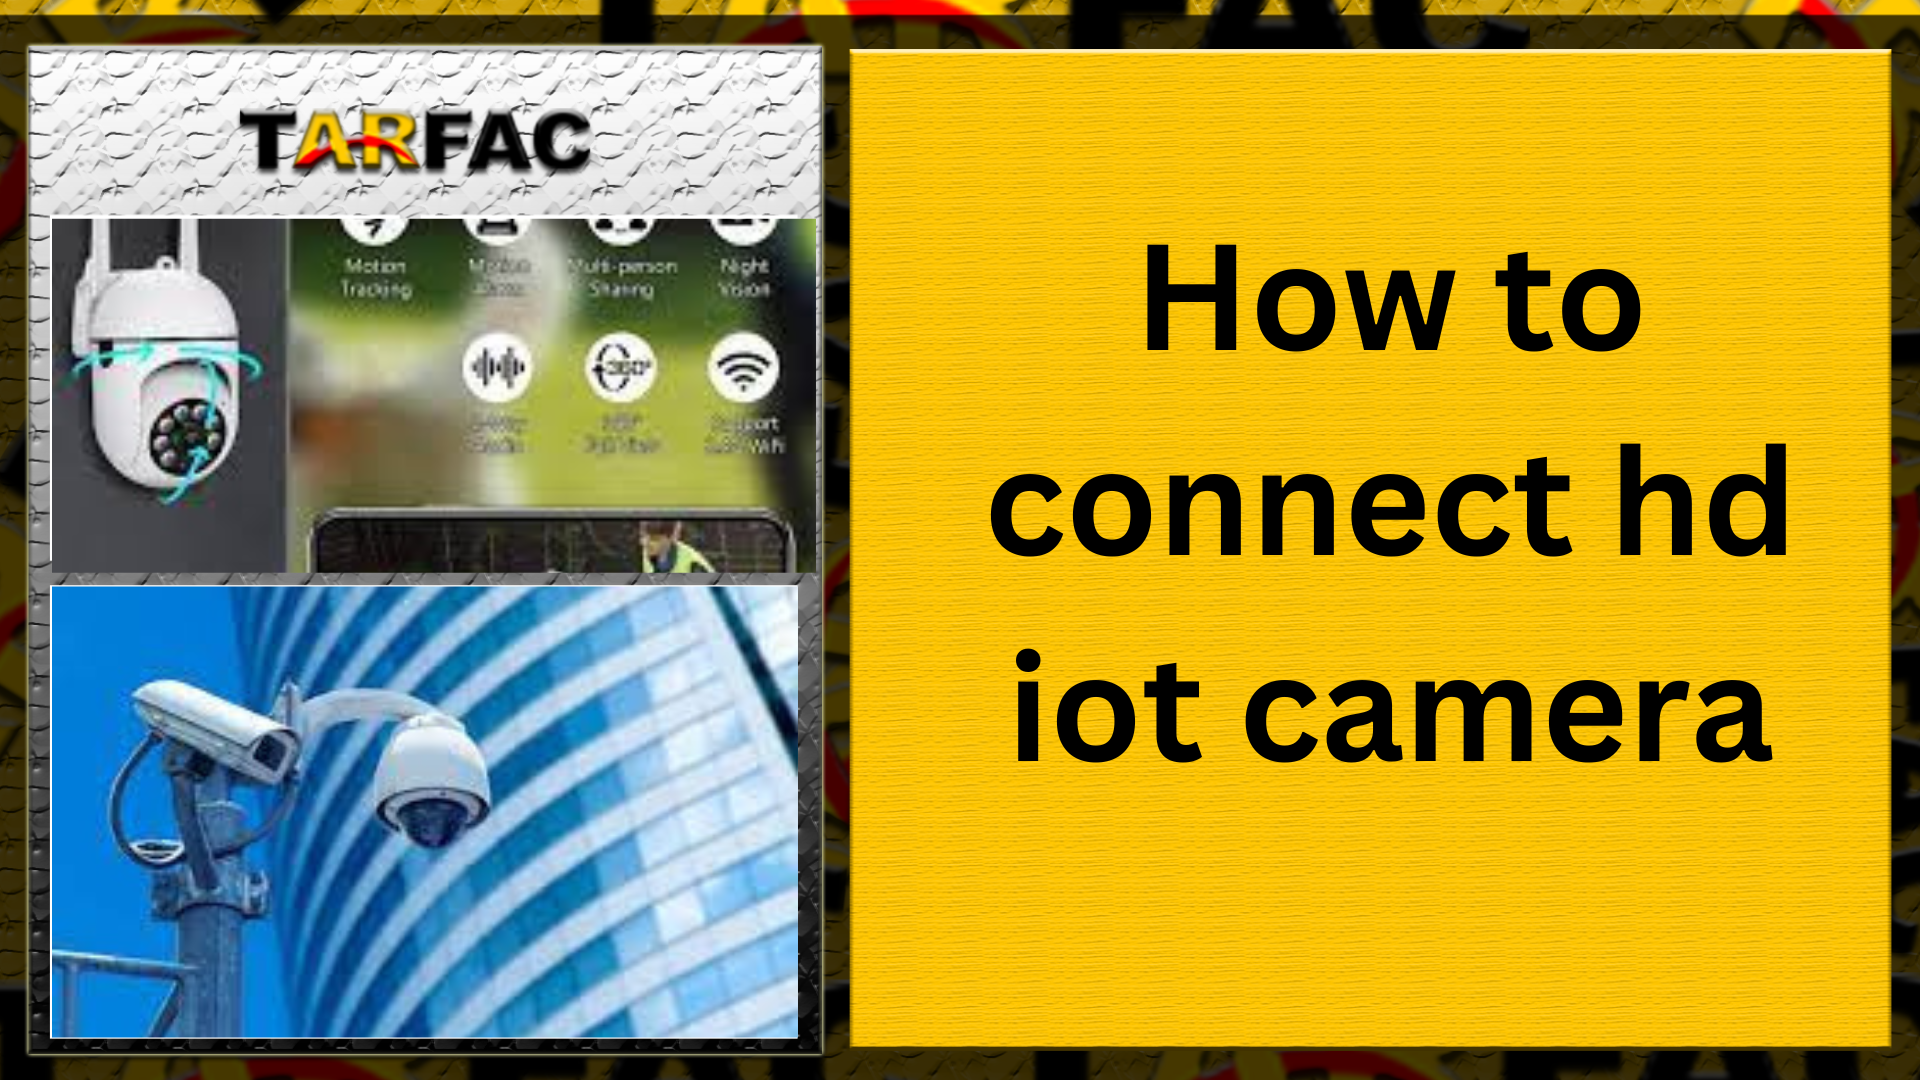
How to connect hd iot camera
Connecting an HD IoT (Internet of Things) camera can vary depending on the specific make and model of the camera. However, I can provide you with general steps that are often applicable to many IoT cameras. Keep in mind that it’s essential to refer to the camera’s user manual for specific instructions tailored to your device. Here’s a general guide:
Steps to Connect an HD IoT Camera:
- Power On the Camera:
- Ensure that the camera is properly powered. Connect it to a power source using the provided power adapter and cables.
- Connect to Wi-Fi:
- Most IoT cameras require a Wi-Fi connection. Use the camera’s mobile app or a web interface to connect the camera to your Wi-Fi network.
- Open the camera’s settings on the app or web interface and look for the Wi-Fi settings. Enter your Wi-Fi network name (SSID) and password.
- Install the Camera App:
- Many IoT cameras come with a dedicated mobile app for easy setup and monitoring. Install the app on your smartphone or tablet.
- The app can usually be found on the App Store (for iOS devices) or Google Play Store (for Android devices).
- Create or Log In to Your Account:
- Open the camera app and create a new account if it’s your first time using the camera. If you already have an account, log in.
- Add the Camera to Your Account:
- Follow the instructions in the app to add your camera to your account. This may involve scanning a QR code on the camera or entering a device ID.
- Position the Camera:
- Place the camera in the desired location, ensuring it has a clear view of the area you want to monitor.
- Adjust Camera Settings:
- Explore the camera settings in the app or web interface to customize features such as motion detection, video quality, and notifications.
- Access Camera Feed:
- Once the setup is complete, you should be able to access the camera feed through the mobile app or a web browser. How To Connect How To Connect How To ConnectHow To Connect How To Connect
Additional Tips:
- Network Compatibility: Ensure that your Wi-Fi network is compatible with the camera’s specifications (e.g., supports the required frequency, encryption method).
- Firewall and Port Forwarding: If accessing the camera remotely, check if your router/firewall settings require port forwarding for the camera.
- Firmware Updates: Regularly check for firmware updates for your camera to ensure optimal performance and security.
Remember, these steps are general guidelines, and the specific process may vary depending on the camera model and brand. Always refer to the camera’s user manual for accurate and detailed instructions. How To Connect
How do I connect my HD Smart camera to WiFi?
Connecting your HD smart camera to Wi-Fi typically involves a series of steps that may vary based on the camera’s brand and model. Here’s a general guide that should give you an idea of the process. Be sure to refer to your camera’s user manual for specific instructions:
- Power On the Camera:
- Plug in your smart camera using the provided power adapter and cable. Ensure that the camera is powered on and ready for setup.
- Download the Camera App:
- Most smart cameras come with a dedicated mobile app that facilitates the setup process. Visit the App Store (for iOS devices) or Google Play Store (for Android devices) to download and install the app associated with your camera brand.
- Create an Account or Log In:
- Open the camera app and either create a new account (if it’s your first time using the camera) or log in with your existing account.
- Add a New Device:
- In the app, look for an option to add a new device or camera. This is often found in the settings or device management section of the app.
- Follow Setup Wizard:
- The app will likely guide you through a setup wizard. This may involve scanning a QR code on the camera, entering a device ID, or following other on-screen instructions.
- Connect to Wi-Fi:
- During the setup process, you will be prompted to connect the camera to your Wi-Fi network. Enter your Wi-Fi network name (SSID) and password when prompted.
- Wait for Connection:
- After entering the Wi-Fi details, the camera will attempt to connect to the network. Wait for the connection to be established. This may take a few moments.
- Confirmation:
- Once connected, the app should provide confirmation that the camera is successfully linked to your Wi-Fi network. You may now be able to access the camera’s live feed and settings through the app.
- Adjust Settings (Optional):
- Explore the camera settings in the app to customize features such as motion detection, video quality, and notifications. How To Connect
- Position the Camera:
- Place the camera in the desired location with a clear view of the area you want to monitor.
Remember, these steps are general guidelines, and the exact process may vary based on your camera model. Always refer to the user manual or documentation that came with your smart camera for accurate and detailed instructions.
How do I connect my HD WiFi camera to my phone?
Connecting your HD WiFi camera to your phone typically involves the following steps. Keep in mind that the specific instructions may vary depending on the brand and model of your camera, so it’s essential to refer to the user manual provided with your camera for precise guidance. Here’s a general guide: How To Connect
Steps to Connect HD WiFi Camera to Your Phone:
- Power On the Camera:
- Ensure your WiFi camera is powered on and connected to a power source.
- Download the Camera App:
- Visit the App Store (iOS) or Google Play Store (Android) on your phone.
- Search for and download the mobile app associated with your camera brand/model.
- Create an Account or Log In:
- Open the camera app on your phone.
- Create a new account if it’s your first time using the app, or log in with your existing account.
- Add New Device:
- Look for an option in the app to add a new device or camera. This is often located in the settings or device management section.
- Follow Setup Wizard:
- The app will likely guide you through a setup wizard. This may involve scanning a QR code on the camera, entering a device ID, or following on-screen instructions.
- Connect to Camera’s WiFi:
- Some cameras may create their own temporary WiFi network during setup. If prompted, go to your phone’s WiFi settings and connect to the network broadcasted by the camera.
- Configure WiFi Settings:
- During the setup process, you’ll likely be prompted to enter the WiFi credentials (SSID and password) for your home network. This allows the camera to connect to your WiFi.
- Wait for Connection:
- Allow the camera and your phone to complete the connection process. This may take a few moments.
- Confirmation:
- Once connected, the app should provide confirmation that the camera is successfully linked to your phone and connected to the WiFi network.
- View Camera Feed:
- Access the camera feed through the app to monitor the live video stream.
- Adjust Settings (Optional):
- Explore the camera settings in the app to customize features such as video quality, motion detection, and notifications.
- Position the Camera:
- Place the camera in the desired location with a clear view of the area you want to monitor.
Remember, these steps are general guidelines, and the process may vary based on the specific camera model and brand. Always refer to the user manual or documentation provided by the camera manufacturer for accurate and detailed instructions. How To Connect
What is the password for HD IoT camera?
The default password for an HD IoT camera can vary depending on the manufacturer and model. It’s crucial to follow the instructions provided by the camera’s manufacturer, which are typically found in the user manual or setup documentation that came with the camera.
In many cases, manufacturers recommend changing the default password during the initial setup process to enhance security. If you have changed the password and can’t remember it, you may need to perform a password reset according to the camera’s specific instructions.
Never leave your IoT camera with the default credentials for security reasons. Always use strong, unique passwords to prevent unauthorized access to your camera and ensure the privacy and security of your footage.
If you are unable to locate the default password or encounter issues with your camera’s password, check the manufacturer’s website or contact their customer support for assistance. Avoid using default passwords and take steps to secure your IoT devices against potential security threats. How To Connect