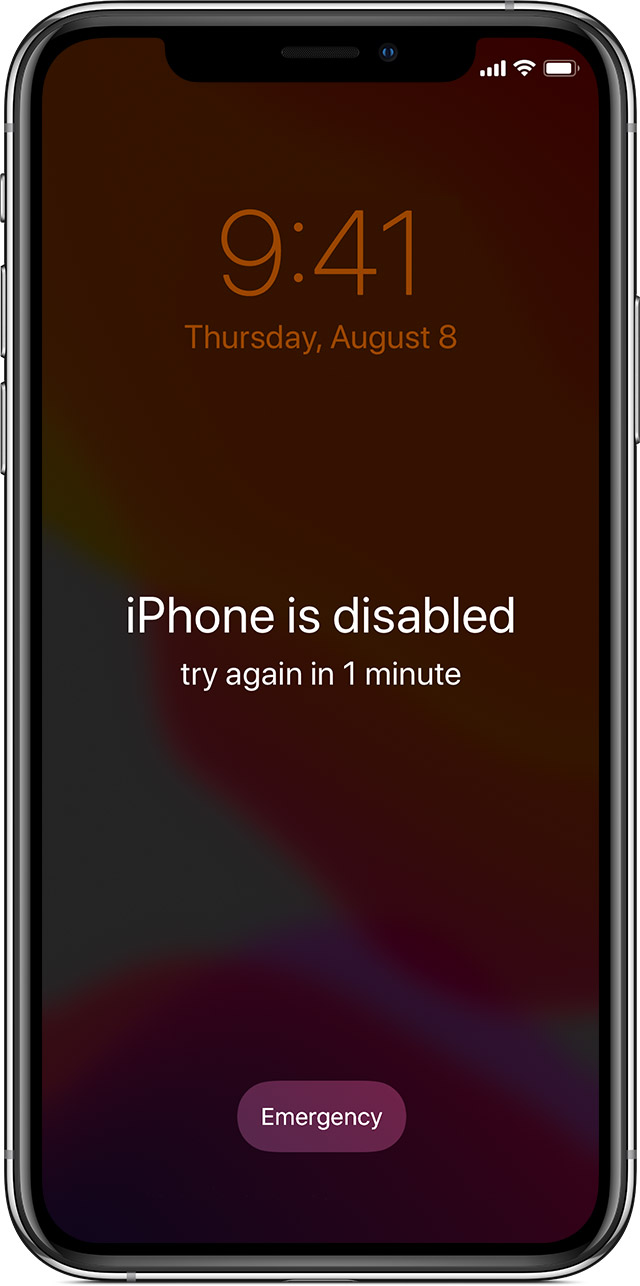
Iphone disabled how to connect to itunes, If your iPhone is disabled and you need to connect it to iTunes, it typically means that you’ve entered the wrong passcode multiple times and the device is locked for security reasons. To resolve this issue, you can follow these steps:
Iphone disabled how to connect to itunes:
- Connect to iTunes: Use a USB cable to connect your iPhone to a computer that has iTunes installed. It’s important to use the computer you’ve previously used to sync with or back up your device, as iTunes will recognize the connection.
- Put iPhone into Recovery Mode:
- For iPhone 8 or later: Press and quickly release the Volume Up button, then press and quickly release the Volume Down button. Finally, press and hold the Side button until you see the recovery mode screen.
- For iPhone 7 and 7 Plus: Press and hold the Volume Down and Sleep/Wake (Side) buttons simultaneously until you see the recovery mode screen.
- For iPhone 6s and earlier: Press and hold the Home and Sleep/Wake (Top) buttons simultaneously until you see the recovery mode screen.
- Restore or Update: In iTunes, a message will appear saying that there’s a problem with your iPhone and it needs to be updated or restored. Choose the “Restore” option. This will erase all data on your device and install the latest iOS version.
- Wait for the Process to Complete: iTunes will download the necessary software and restore your iPhone. This process may take some time, so make sure your computer stays connected and doesn’t go to sleep during the process.
- Set Up iPhone: After the restore process is complete, you’ll have the option to set up your iPhone as new or restore from a backup. If you have a recent backup, you can choose to restore from it and recover your data.
Keep in mind that this process will erase all data on your iPhone, so it’s important to have a backup if you want to restore your data after the device is restored. If you haven’t backed up your iPhone before, you may lose your data during this process.
If you’re unable to restore your iPhone using iTunes or if you continue to face issues, it’s recommended to contact Apple Support or visit an Apple Store for further assistance.
How do I unlock a disabled iPhone with iTunes?
Unlocking a disabled iPhone using iTunes involves putting the device into Recovery Mode and then restoring it. Here’s a step-by-step guide:
- Connect iPhone to Computer: Use a USB cable to connect your disabled iPhone to a computer that has iTunes installed. Make sure you’re using the computer that you’ve previously used to sync with your iPhone.
- Put iPhone into Recovery Mode:
- For iPhone 8 or later: Press and quickly release the Volume Up button, then press and quickly release the Volume Down button. Finally, press and hold the Side button until you see the recovery mode screen.
- For iPhone 7 and 7 Plus: Press and hold the Volume Down and Sleep/Wake (Side) buttons simultaneously until you see the recovery mode screen.
- For iPhone 6s and earlier: Press and hold the Home and Sleep/Wake (Top) buttons simultaneously until you see the recovery mode screen.
- iTunes Prompt: When you connect your iPhone in Recovery Mode, iTunes will detect the device in recovery mode and display a message indicating that there’s a problem with the iPhone that requires it to be updated or restored.
- Restore iPhone: Click on the “Restore” button in iTunes. This will initiate the process of restoring your iPhone. Keep in mind that this will erase all data on your iPhone.
- Wait for the Process to Complete: iTunes will download the necessary software, install it on your iPhone, and restore the device to its factory settings. This process may take some time.
- Set Up iPhone: Once the restore process is complete, you’ll have the option to set up your iPhone as new or restore from a backup. If you have a backup, you can choose to restore from it during the setup process.
Please note that restoring your iPhone in this way will erase all data on the device. If you have a backup available, you can restore your data after the device is set up. If you don’t have a backup, your data will be lost.
If you encounter any issues during this process or if your iPhone remains disabled even after trying these steps, it’s advisable to contact Apple Support or visit an Apple Store for assistance.
How do you unlock a disabled iPhone?
Unlocking a disabled iPhone typically involves erasing the device’s data and settings through various methods. If you have a backup of your iPhone, you can restore your data after the device is unlocked. Here are the steps to unlock a disabled iPhone:
Method 1: Using iTunes (Requires Computer)
- Connect to iTunes: Use a USB cable to connect your disabled iPhone to a computer that has iTunes installed. Make sure it’s the computer you’ve used before to sync your iPhone.
- Put iPhone into Recovery Mode:
- For iPhone 8 or later: Press and quickly release the Volume Up button, then press and quickly release the Volume Down button. Finally, press and hold the Side button until the recovery mode screen appears.
- For iPhone 7 and 7 Plus: Press and hold the Volume Down and Sleep/Wake (Side) buttons simultaneously until the recovery mode screen appears.
- For iPhone 6s and earlier: Press and hold the Home and Sleep/Wake (Top) buttons simultaneously until the recovery mode screen appears.
- iTunes Prompt: When iTunes detects the iPhone in recovery mode, it will display a message indicating that there’s a problem with the iPhone and it needs to be updated or restored.
- Restore iPhone: Click on the “Restore” option in iTunes. This will erase all data on your iPhone and install the latest iOS version.
- Set Up iPhone: After the restore process is complete, you can set up your iPhone as a new device or restore from a backup if you have one.
Method 2: Using iCloud (Find My iPhone Enabled)
- Visit iCloud Website: Go to iCloud.com and sign in with your Apple ID.
- Select “All Devices”: Click on “All Devices” at the top of the window and select your disabled iPhone from the list.
- Erase iPhone: Click on “Erase iPhone” to remotely wipe the device. This will erase all data on the device and reset it to factory settings.
- Set Up iPhone: Once the erase process is complete, you can set up your iPhone as a new device or restore from a backup if you have one.
Please note that these methods will erase all data on your iPhone. If you have a backup, you can restore your data after unlocking the device. If you don’t have a backup, your data will be lost. If none of these methods work or you’re encountering issues, it’s recommended to contact Apple Support or visit an Apple Store for assistance.
Why does my disabled iPhone not connect to iTunes?
If your disabled iPhone is not connecting to iTunes, there could be several reasons for this issue:
- USB Cable or Port Issues: Make sure you’re using a genuine Apple USB cable and connecting it to a working USB port on your computer. Sometimes, faulty cables or ports can prevent proper communication between the iPhone and iTunes.
- iTunes Version Compatibility: Ensure that you have the latest version of iTunes installed on your computer. Older versions of iTunes might not support the latest iOS devices or features.
- Computer Trust Relationship: If you’ve never connected your iPhone to the computer before, you might need to establish a trust relationship. This is usually prompted on the iPhone when you connect it. However, if you can’t access the iPhone due to being disabled, you might not see this prompt.
- Disabled iPhone Restrictions: If you’ve previously set restrictions on your iPhone (parental controls), it might prevent the device from connecting to iTunes. This is especially true if the restriction includes USB access.
- Software or Driver Issues: There could be software conflicts or driver issues on your computer that are preventing iTunes from recognizing your iPhone. Try restarting your computer or reinstalling iTunes.
- Firewall or Security Software: Security software or firewalls on your computer might block the connection between iTunes and your iPhone. Temporarily disabling such software could help troubleshoot this issue.
- Faulty Hardware: In some cases, there might be hardware issues with either your iPhone or the computer’s USB port that are preventing proper connection.
If you’ve tried multiple USB cables, different USB ports, and ensured that your iTunes is up to date, and you’re still unable to connect your disabled iPhone to iTunes, it’s recommended to contact Apple Support or visit an Apple Store for further assistance. They can help diagnose the issue and provide solutions based on your specific situation.
How much is it to unlock a disabled iPhone?
Unlocking a disabled iPhone does not typically incur a direct cost from Apple or authorized service providers. However, the process of unlocking a disabled iPhone involves erasing the device’s data and settings, which means you will lose all data on the device. This is done to ensure the security of the device and the data it contains.
If you have a backup of your iPhone’s data in iTunes or iCloud, you can restore your data after the device is unlocked. If you don’t have a backup, your data will be permanently lost.
If you’re referring to unlocking an iPhone from a carrier’s network lock, that’s a different process. Network unlocking might involve costs if the iPhone is still under contract with a carrier. Contacting your carrier’s customer service would provide more information about the cost and requirements for network unlocking.
In any case, if your iPhone is disabled and you’re having trouble unlocking it, it’s recommended to contact Apple Support or visit an Apple Store for assistance. They can guide you through the necessary steps to unlock the device and help you recover your data if possible.
Can you restore an iPhone without using a computer?
Yes, you can restore an iPhone without using a computer by using the built-in features on the device itself. If you have access to your iPhone’s settings and if “Find My iPhone” is enabled, you can perform a restore without needing a computer. Here’s how:
- Using iCloud and Find My iPhone (Device Must be Online):This method requires that you’ve previously set up and enabled “Find My iPhone” on your device and that your iPhone is connected to the internet.
- Open the “Settings” app on your iPhone.
- Tap on your name at the top of the screen to access your Apple ID settings.
- Tap on “iCloud.”
- Scroll down and tap on “Find My iPhone.”
- Make sure “Find My iPhone” is turned on.
- Go back to the main Settings screen.
- Tap on “General.”
- Scroll down and tap on “Reset.”
- Tap on “Erase All Content and Settings.”
- Enter your passcode or Apple ID password when prompted.
- Follow the on-screen instructions to confirm the erase process.
After the device is erased and restored, you will have the option to set it up as a new device or restore from an iCloud backup during the initial setup process.
Please note that using this method requires your iPhone to be online and connected to a Wi-Fi network for the erase and restore process to work. If you don’t have access to your iPhone’s settings or if the device is completely locked/disabled, you might need to use a computer to perform the restore using iTunes or Finder.
If you’re unsure about the process or encounter any issues, it’s always a good idea to contact Apple Support for guidance and assistance.
More story in Hindi to read:
Moral stories in Hindi for class